Water damage costs Australian homeowners billions every year. Most of it starts with one tiny gap. Let’s fix that today.
If you want to seal the gap between house and the guttering, you’re in the right place. Honestly speaking, this is one of the most overlooked home maintenance tasks out there. But here’s the thing – ignoring it can cost you thousands in repairs later.
Let’s get into it.
Understanding the Gap: Causes and Implications
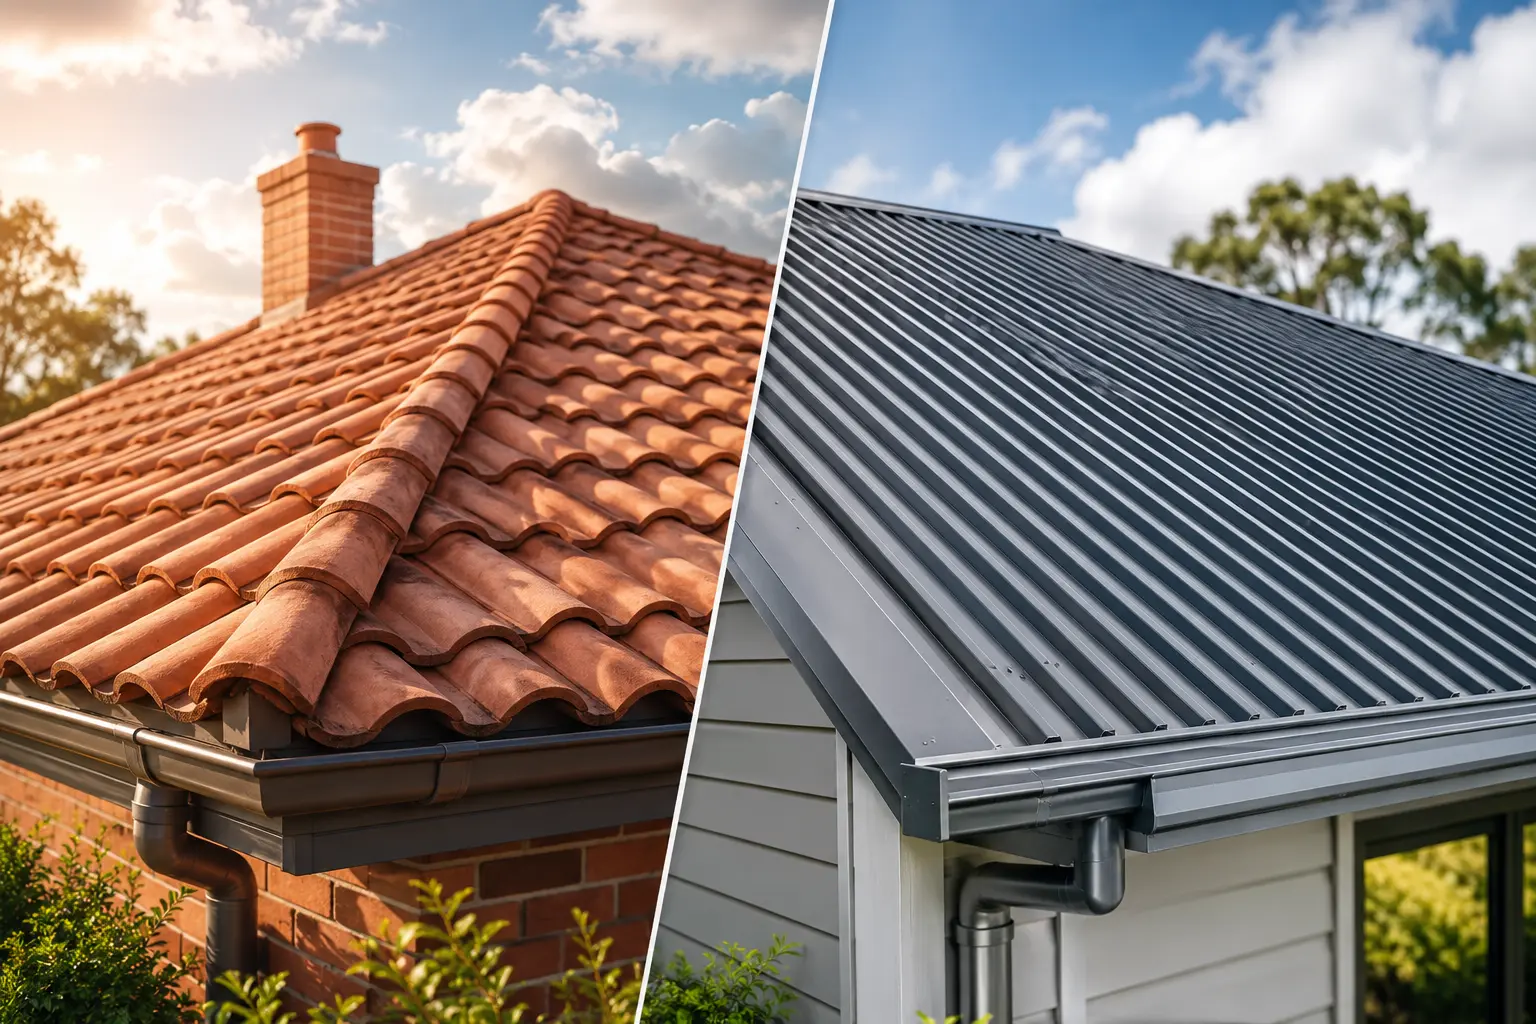
You know that space between your roof and the gutter? That’s the gap we’re talking about. It might look small. But believe it or not, small gaps can cause massive problems.
Here’s what causes them:
- Expansion and contraction from weather changes. Materials shrink in cold and expand in heat. Over time, they pull apart.
- Old or missing gutter fasteners. When screws loosen, the gutter drops away from the fascia.
- Rot in the fascia board. Wood deteriorates over time, especially in wet climates.
- Windy storms that physically pull gutters away from the roofline.
Real talk – a gap between the roof and gutter doesn’t just look bad. It lets water intrude behind the gutter instead of flowing through the downspouts. That water hits your fascia, your siding, and eventually your foundation. Structural issues follow. Pest infestations too. Think about it – one gap, a dozen problems.
Essential Tools and Materials for Repairing Gaps
Let me tell you something. You don’t need fancy equipment. But you do need the right tools and materials.
Here’s your checklist:
- Exterior-grade caulk – weather-resistant and durable
- Caulking gun – for applying a smooth, continuous bead
- Roofing sealant – for larger gaps near the shingle line
- Drip edge flashing – to bridge the gap between roof and gutter
- Screws and gutter fasteners – to tighten loose gutters back to the fascia
- Ladder – a sturdy one, please
- Harness – safety first, always
- Wire brush and rag – for cleaning debris before sealing
- Measuring tape – to measure the gap and the length of the gap accurately
To be fair, spending $50 on the right building materials now saves you $5,000 in roofing repair later. That’s just smart homeowner thinking.
Step-by-Step Guide to Repair the Gap
Guess what? This is actually a manageable DIY project. Here’s a simple step-by-step process.
Step 1: Inspect the gap.
Climb your ladder safely. Use your harness. Look at the gap between your roof and the gutter closely. Is it a small gap or a large gap? Different approaches work for different gap sizes.
Step 2: Clean the area.
Remove all debris. Brush away dirt, old caulk, and grime. A clean surface helps sealant stick properly.
Step 3: Measure the gap.
Use your tape to measure the gap. This tells you whether you need just caulk or if you need flashing to bridge the gap.
Step 4: Apply sealant or flashing.
For small gaps, load your caulking gun with exterior-grade caulk. Apply a continuous bead along the gap. For larger gaps, install a drip edge or flash to close the gap properly. Make sure it sits between the shingle and the gutter system.
Step 5: Tighten gutter fasteners.
While you’re up there, tighten any loose screws. A wobbly gutter will just re-open the gap.
Step 6: Final inspection.
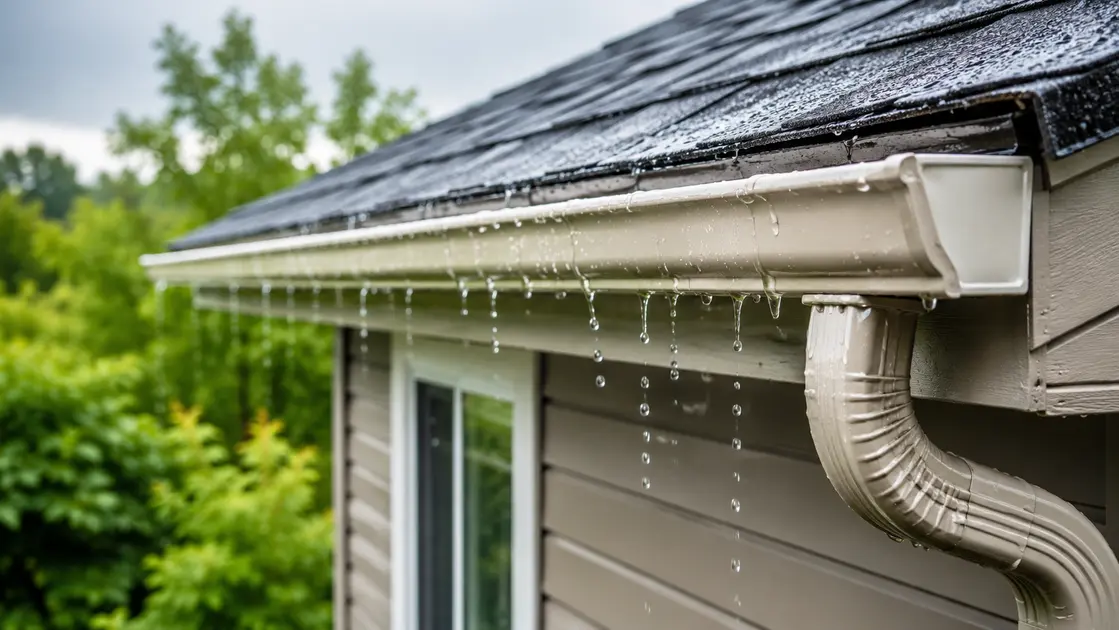
Run water through the gutter. Watch for any leak. Check that water flows to the downspouts. No drips? You nailed it!
Preventative Measures to Avoid Future Gaps
The funny thing is, most people only fix gaps after damage happens. Don’t be that person.
Here’s how to prevent water damage before it starts:
- Inspect your gutter system twice a year. Spring and fall work best.
- Keep gutters clear of debris. Blockages add weight and pull gutters away from the fascia.
- Check for rot along the fascia board regularly.
- Reapply sealant every few years. Caulk does shrink and crack over time.
- Install a proper drip edge during any roofing project. It’s a game-changer for keeping your home protected.
Professional vs. DIY Repairs: Making the Right Choice
Here’s the thing – not every gap is a DIY fix. At the end of the day, you need to be honest about your skill level.
DIY works great for small gaps and basic caulking jobs. But if you’ve got structural issues, serious rot, or valley flashing problems, call a roofing contractor. A professional roofing team has the experience to handle complex repair methods safely and correctly.
Sealing gaps professionally ensures durable, long-lasting roofing solutions. Sometimes, spending on a roofing professional is simply the smarter move.
Conclusion
To seal gap between gutter and roof isn’t complicated. But it does require attention. Catch it early. Use the right sealant. Tighten those fasteners. And inspect regularly.
Protect your home now – before that tiny gap becomes a very expensive problem.
If you are unsure where the leak is coming from or want a professional assessment, trust Harley & Sons Guttering Services to inspect, repair, and protect your gutter system before minor issues turn into costly roof damage.
FAQs
How do I seal the gap between the house and guttering to protect your home?
Start by cleaning the area of debris and drying it thoroughly. For small gaps (under 1/4″), use a high-quality exterior-grade silicone or polyurethane sealant compatible with both roofing materials and gutter systems. For larger gaps, install backer rod before sealing to ensure a proper bead and prevent sinkage. Ensure the drip edge and flashing are intact; if not, replace or reattach them to direct water into the gutter. These preventive measures will stop leaks, deter pests, and protect your home from water damage.
What repair methods and roofing solutions work best for different gaps between roof and wall sizes?
Methods for different gap sizes vary: very small gaps can be sealed with caulk or sealant, medium gaps (1/4″–1″) should use backer rod plus sealant or applied flashing tape, and large gaps (over 1″) usually require mechanical repair — extending or refastening drip edge, installing new metal flashing, or adding a custom counterflashing to tie the roofing into the wall. For wood siding, use corrosion-resistant screws and a flexible sealant; for masonry, use metal flashing with masonry screws and sealant. Choose roofing solutions matched to materials and movement expectations to avoid future failures.
When should a homeowner call a professional roofing professional or consider inspection and professional roofing repair?
If you see persistent leaks, sagging gutters, missing or damaged drip edge, signs of rot at the roof and wall junction, or gaps that require cutting and refitting flashing, call a roofing professional. A qualified inspector will assess the gutter, flashing, roof-to-wall junction, and underlying structure, recommend repair methods, and perform safe installation of flashing or gutter modifications. Hiring a professional is especially important for roof pitches, multi-story homes, or when the repair affects structural members — it ensures long-lasting results and helps protect your home.